 English
 Nederlands
 Duits
Duits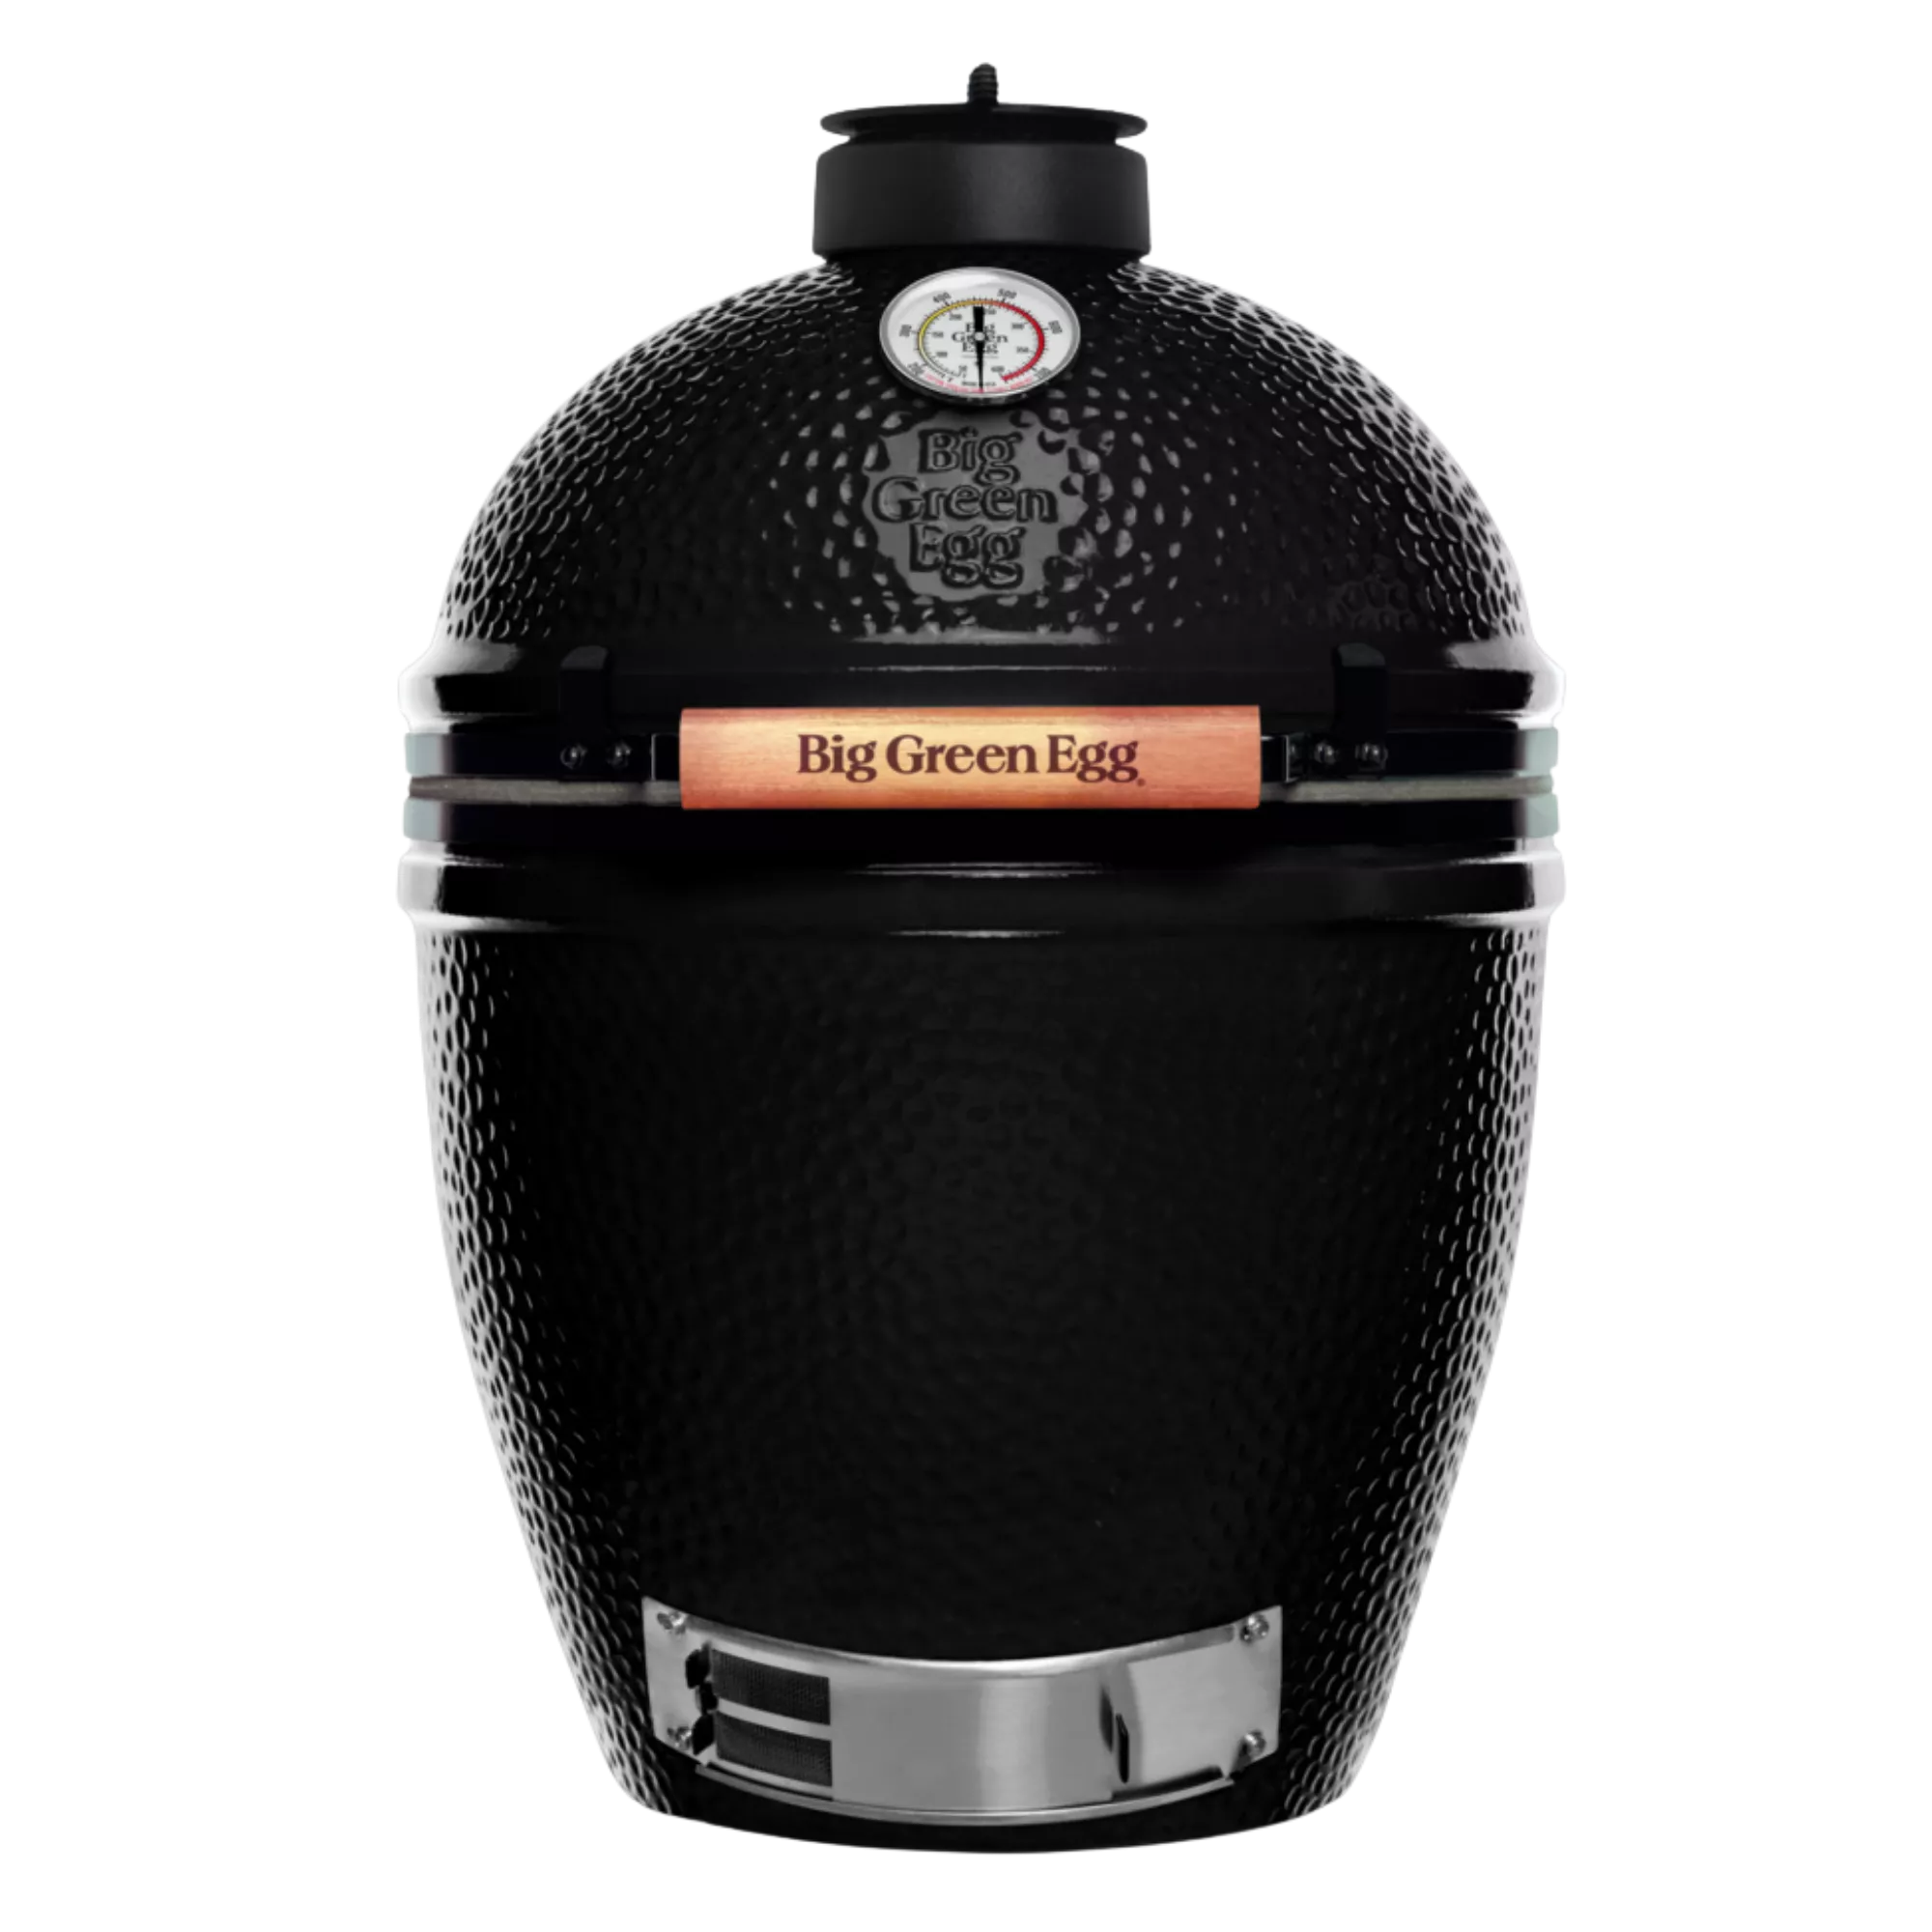











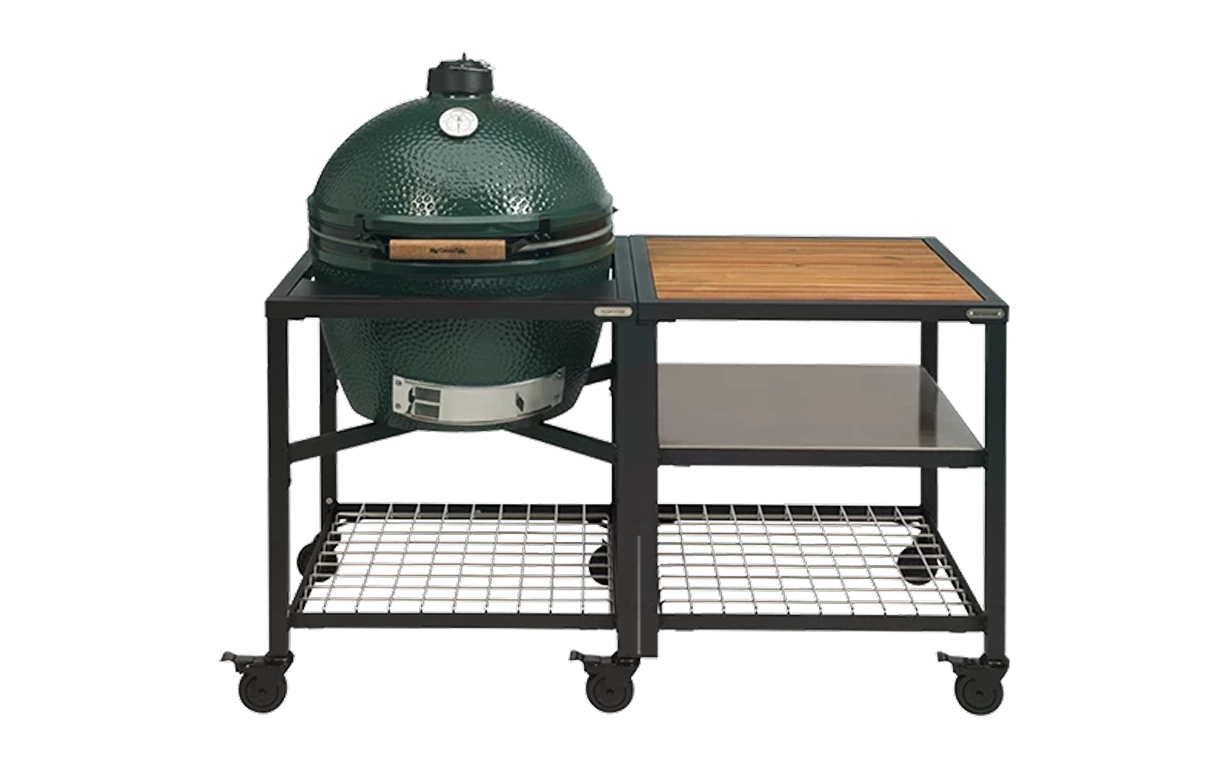











































Lighting a kamado sometimes seems more complicated at first than it really is. This is mainly because there is a lot of conflicting advice circulating online. One person uses firelighters, another swears by a Monolighter, and yet another only fills their kamado halfway. For someone just starting out, this can be unnecessarily confusing.
Yet, in practice, lighting a kamado is actually very straightforward. As soon as you understand the basics, you will notice that it is not difficult, but mainly a matter of working calmly and logically. And that is exactly where a good session begins. Because how you start your kamado influences everything that follows. A stable fire, sufficient air circulation, and a well-built temperature ensure more control during cooking and ultimately a better result on the grate.
Whether you have just bought a kamado or simply want to know if you can do it smarter, with this explanation you will light your kamado safely, efficiently, and without unnecessary hassle.
A good start begins with preparation.
Before you even make a fire, it is smart to take a look at the basics first. What is left in the fire basket from your previous session? Is there any usable charcoal left? And how much ash is left behind?
That initial moment of preparation is often underestimated, even though it makes a huge difference. A kamado with a neat and airy interior responds better to temperature and gets going more easily. If the bottom is clogged with ash, you will notice that the airflow works less effectively. And without good air circulation, you also have less control over your fire.
Therefore, always start with this short check:
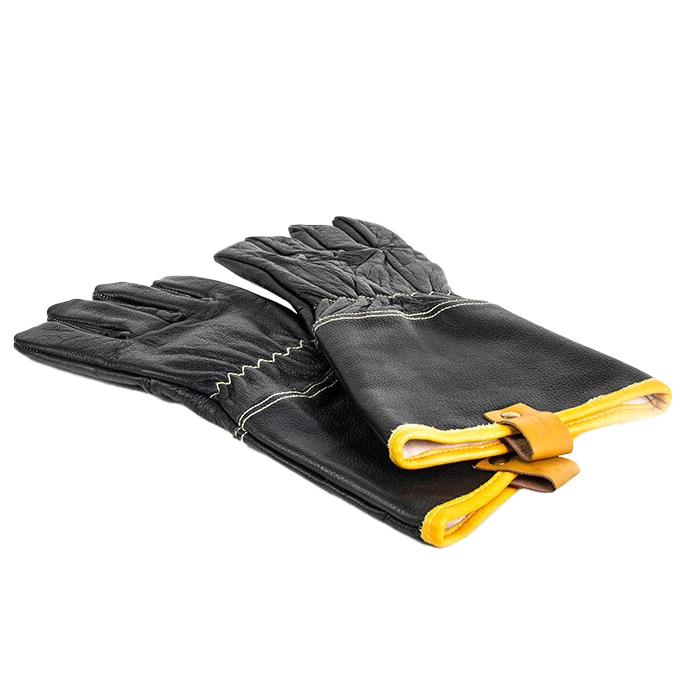
- Gently stir the remaining charcoal with a poker or barbecue glove.
- lower loose shaft
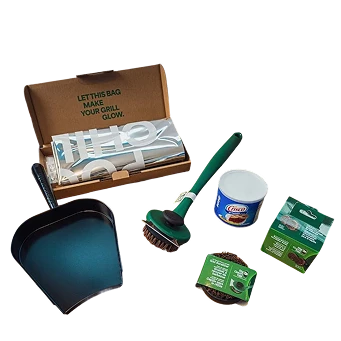
- remove the ash via the ash drawer or with an ash scoop
- slide usable charcoal to the back if necessary
- Replenish the front with fresh charcoal
If you use a Kick Ash Can or a similar ash catcher, this goes even faster. What is especially important: don't be stingy with filling. Even for a shorter session, a well-filled fire basket is smart. Your kamado remains more stable, you are less likely to run out of heat, and you can simply reuse what is left over later.
How much charcoal do you actually use?
A question that comes up often is how much charcoal you need. The honest answer is: usually more than you think. Not because you use it all up during that one session, but because a kamado simply works best when the fire has enough space and fuel to remain stable.
For short grilling sessions, you don't need to fill the fire basket to the brim, but doing things by halves isn't ideal either. Especially if you plan to cook indirectly afterwards or are going to be grilling for a bit longer, you'll quickly notice that extra charcoal provides peace of mind. Better to have a little too much than too little. This prevents refilling in between and keeps the temperature more constant.
Lighting your kamado: these are the three most popular methods
There are several ways to light a kamado. The method that works best depends on your preference, your type of kamado, and how quickly or controlled you want to start. The three most commonly used options are:
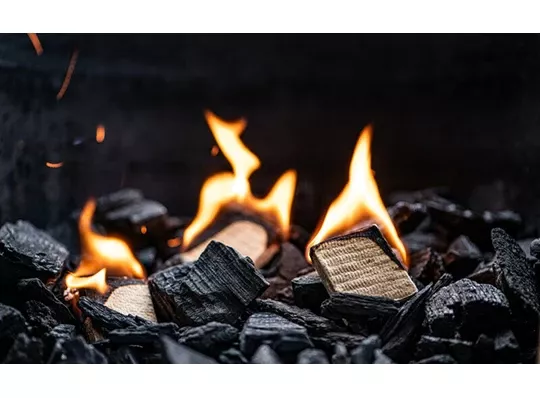
- fire lighters or fire starters
- firelighters
- a Monolighter
Each method has its own advantages.
1. Light with firelighters
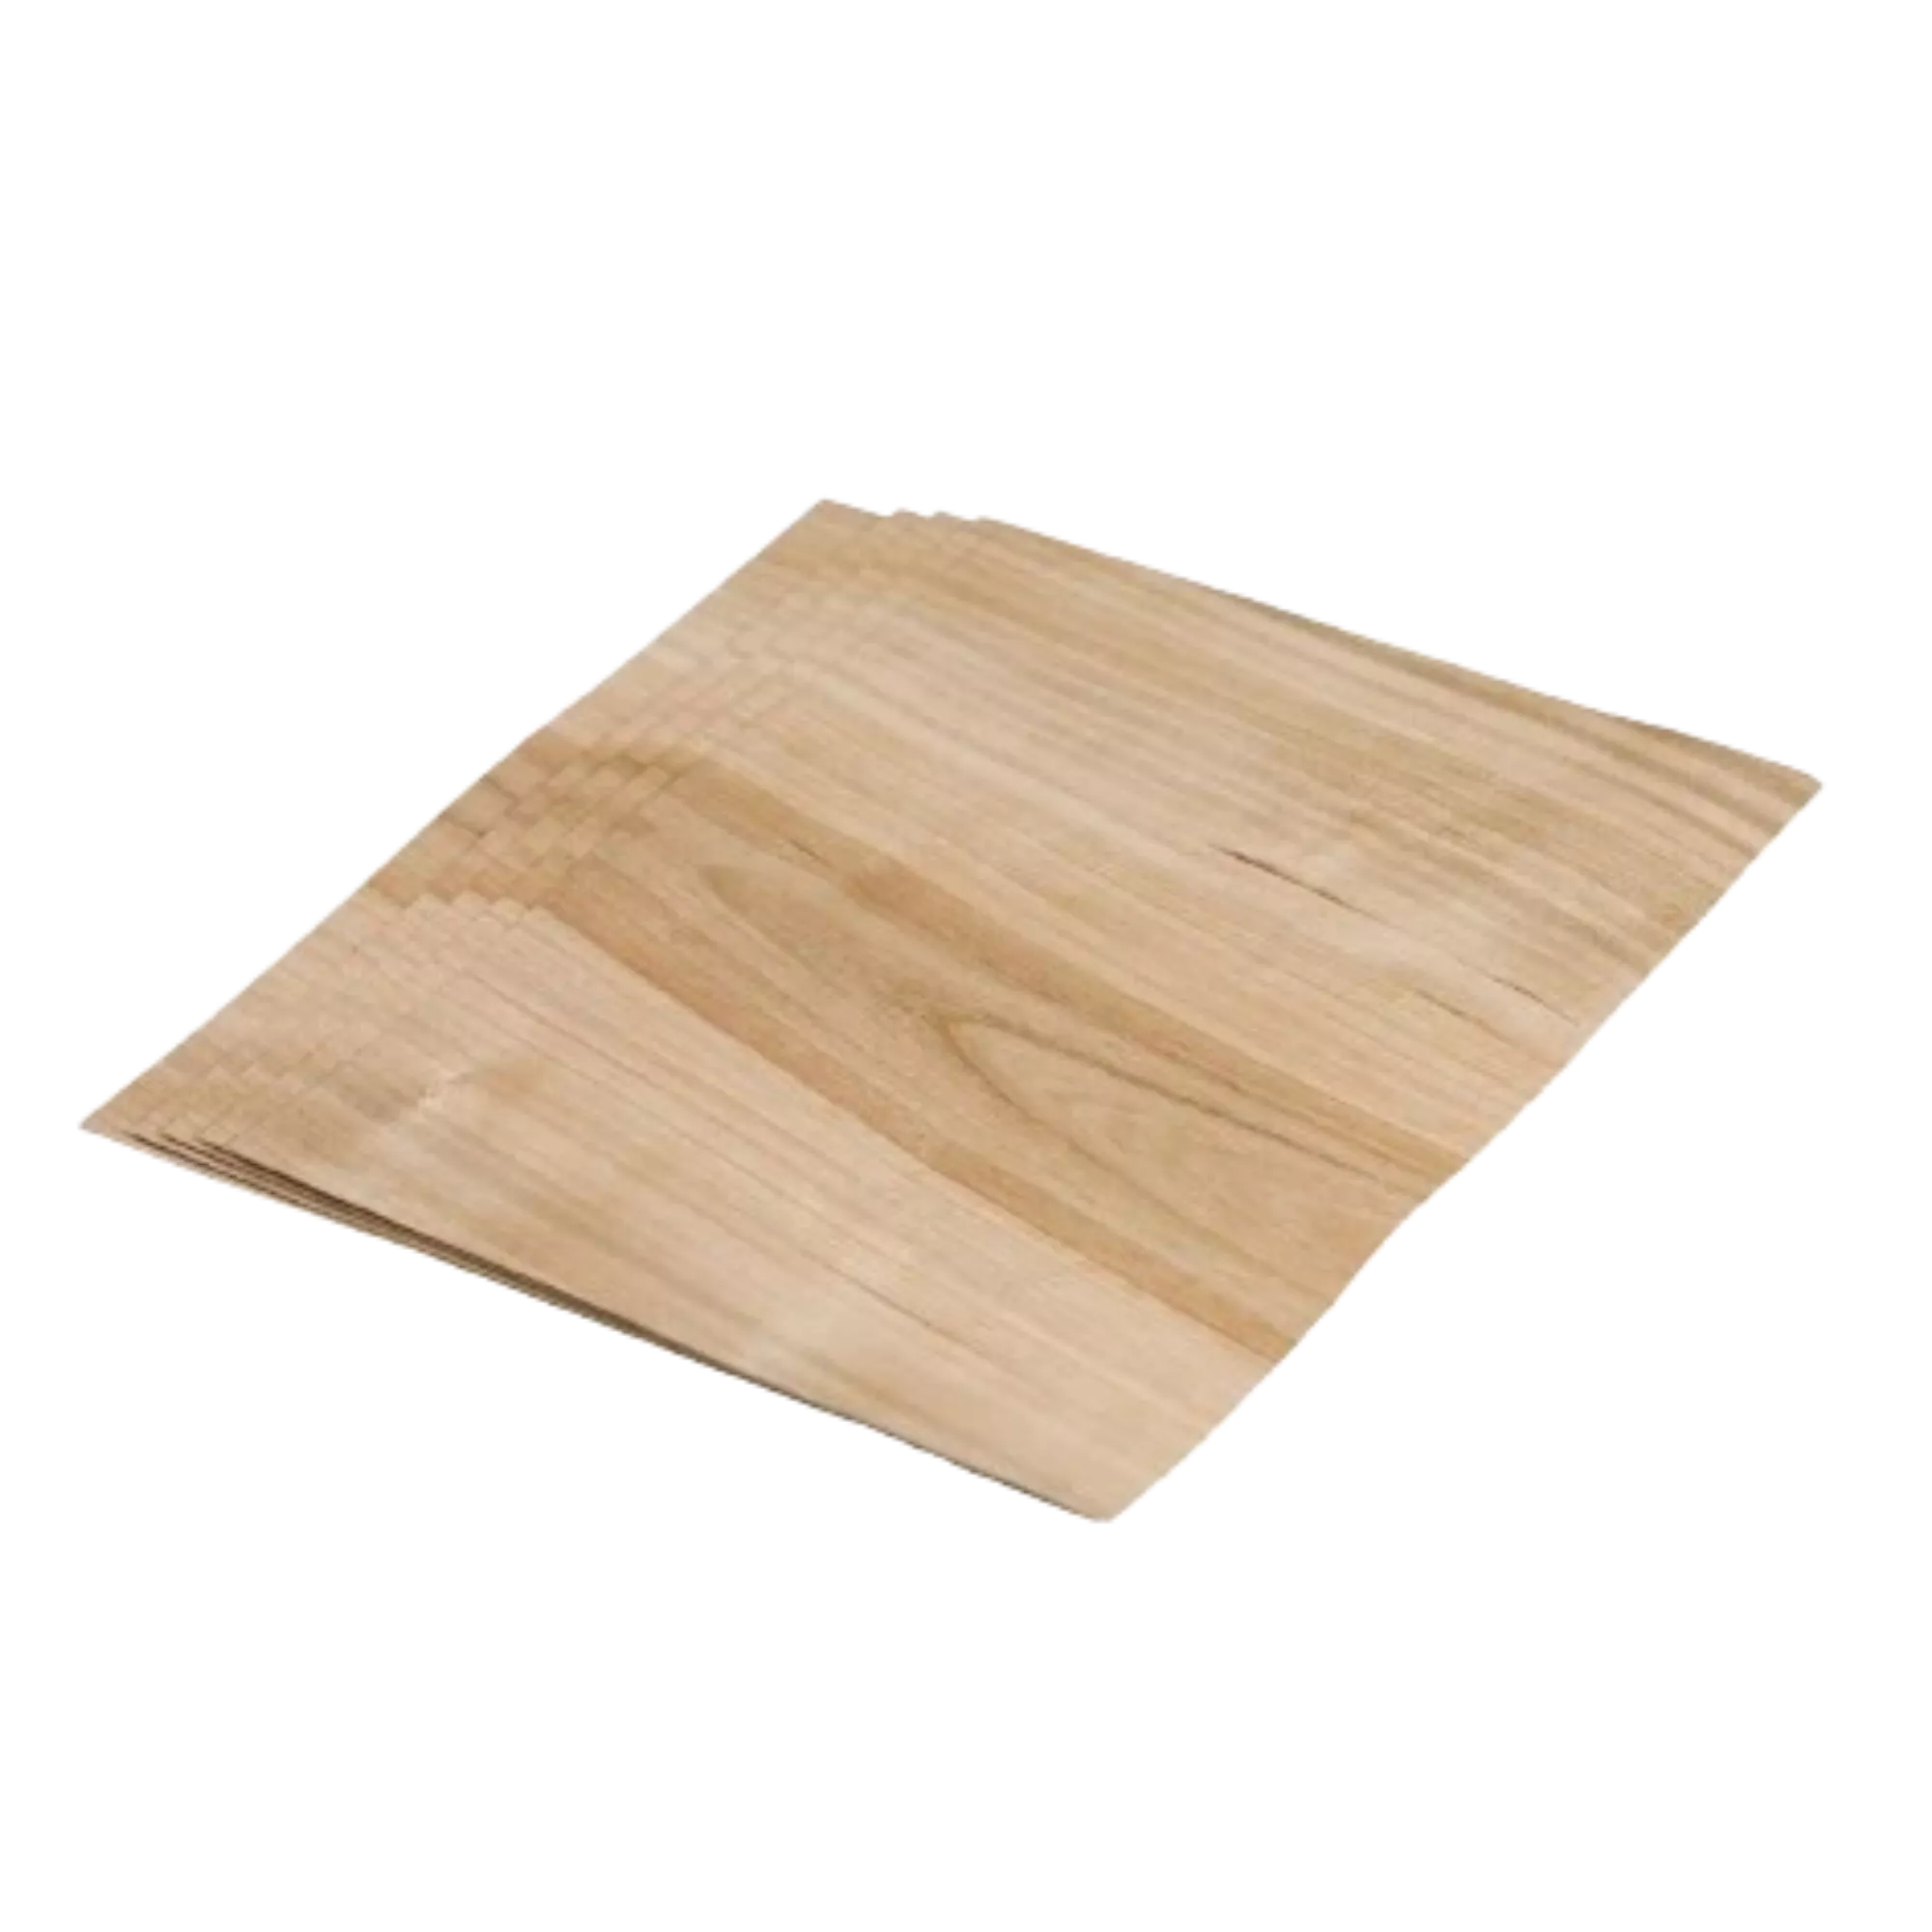
Many people start with firelighters. That makes sense, as it is a simple and accessible way to start up your kamado. However, be sure to use the natural brown varieties made from compressed wood, sawdust, or cardboard. It is best to avoid white chemical firelighters, as they can impart odors and flavors to your charcoal.
Here's how to handle it properly:
- open the lower air vent fully
- also leave the lid open while lighting
- use one cube for lower temperatures or gradual build-up
- use two or three cubes if you want to reach high heat faster
- Place the cubes between the charcoal and light them.
- Wait patiently until the first pieces of charcoal really start to glow.
After about seven to ten minutes, you will usually see small glowing spots appear. At that moment, you know the fire is starting to build up. Once the cubes have burned out, you can remove any remaining residue with tongs. Then close the lid and open the top regulator.
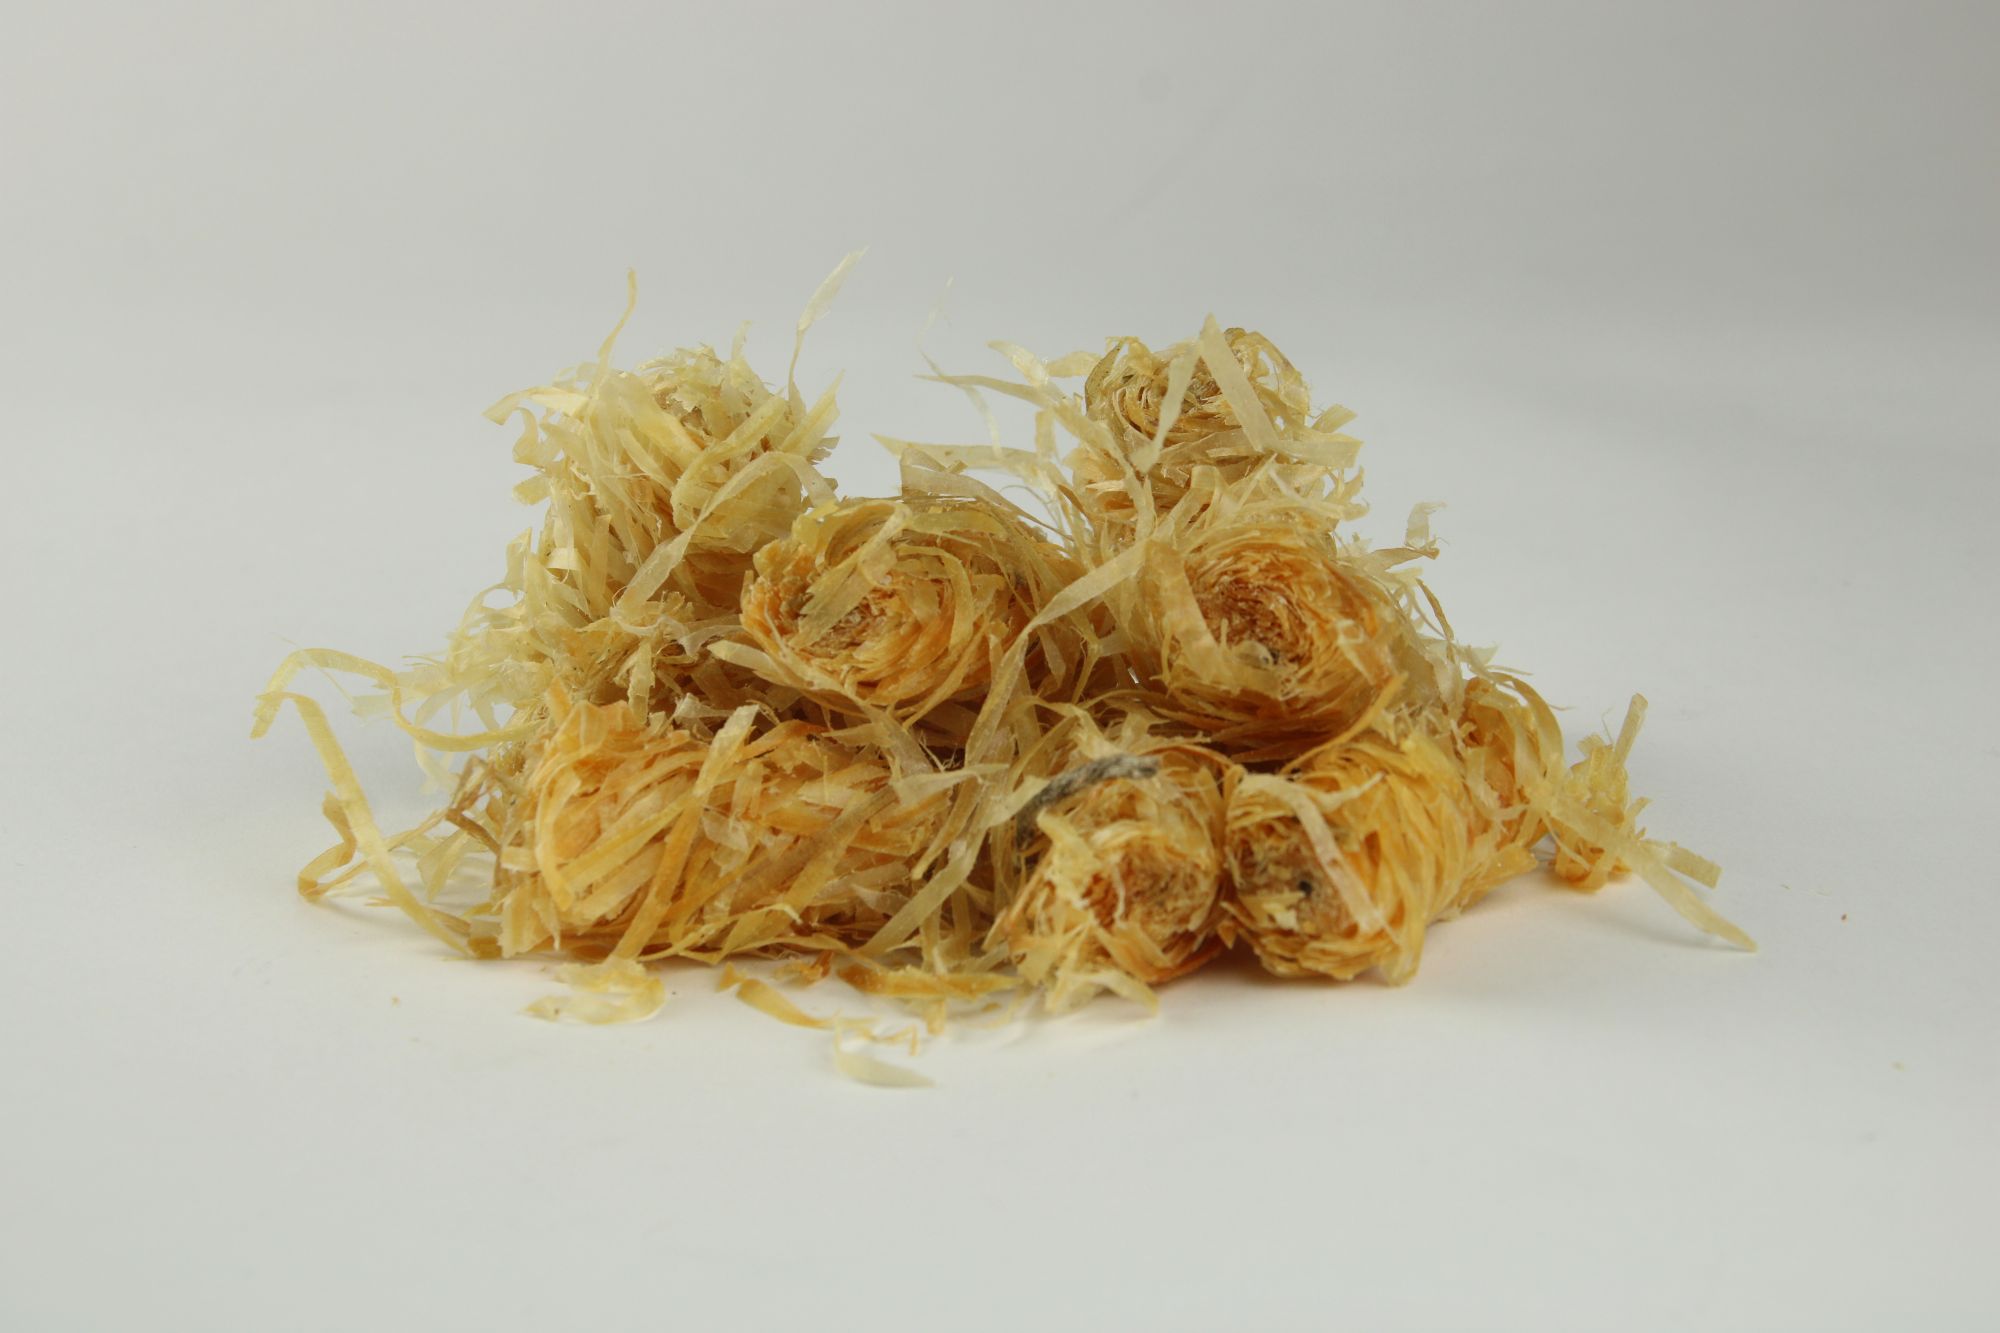
2. Light with firelighters
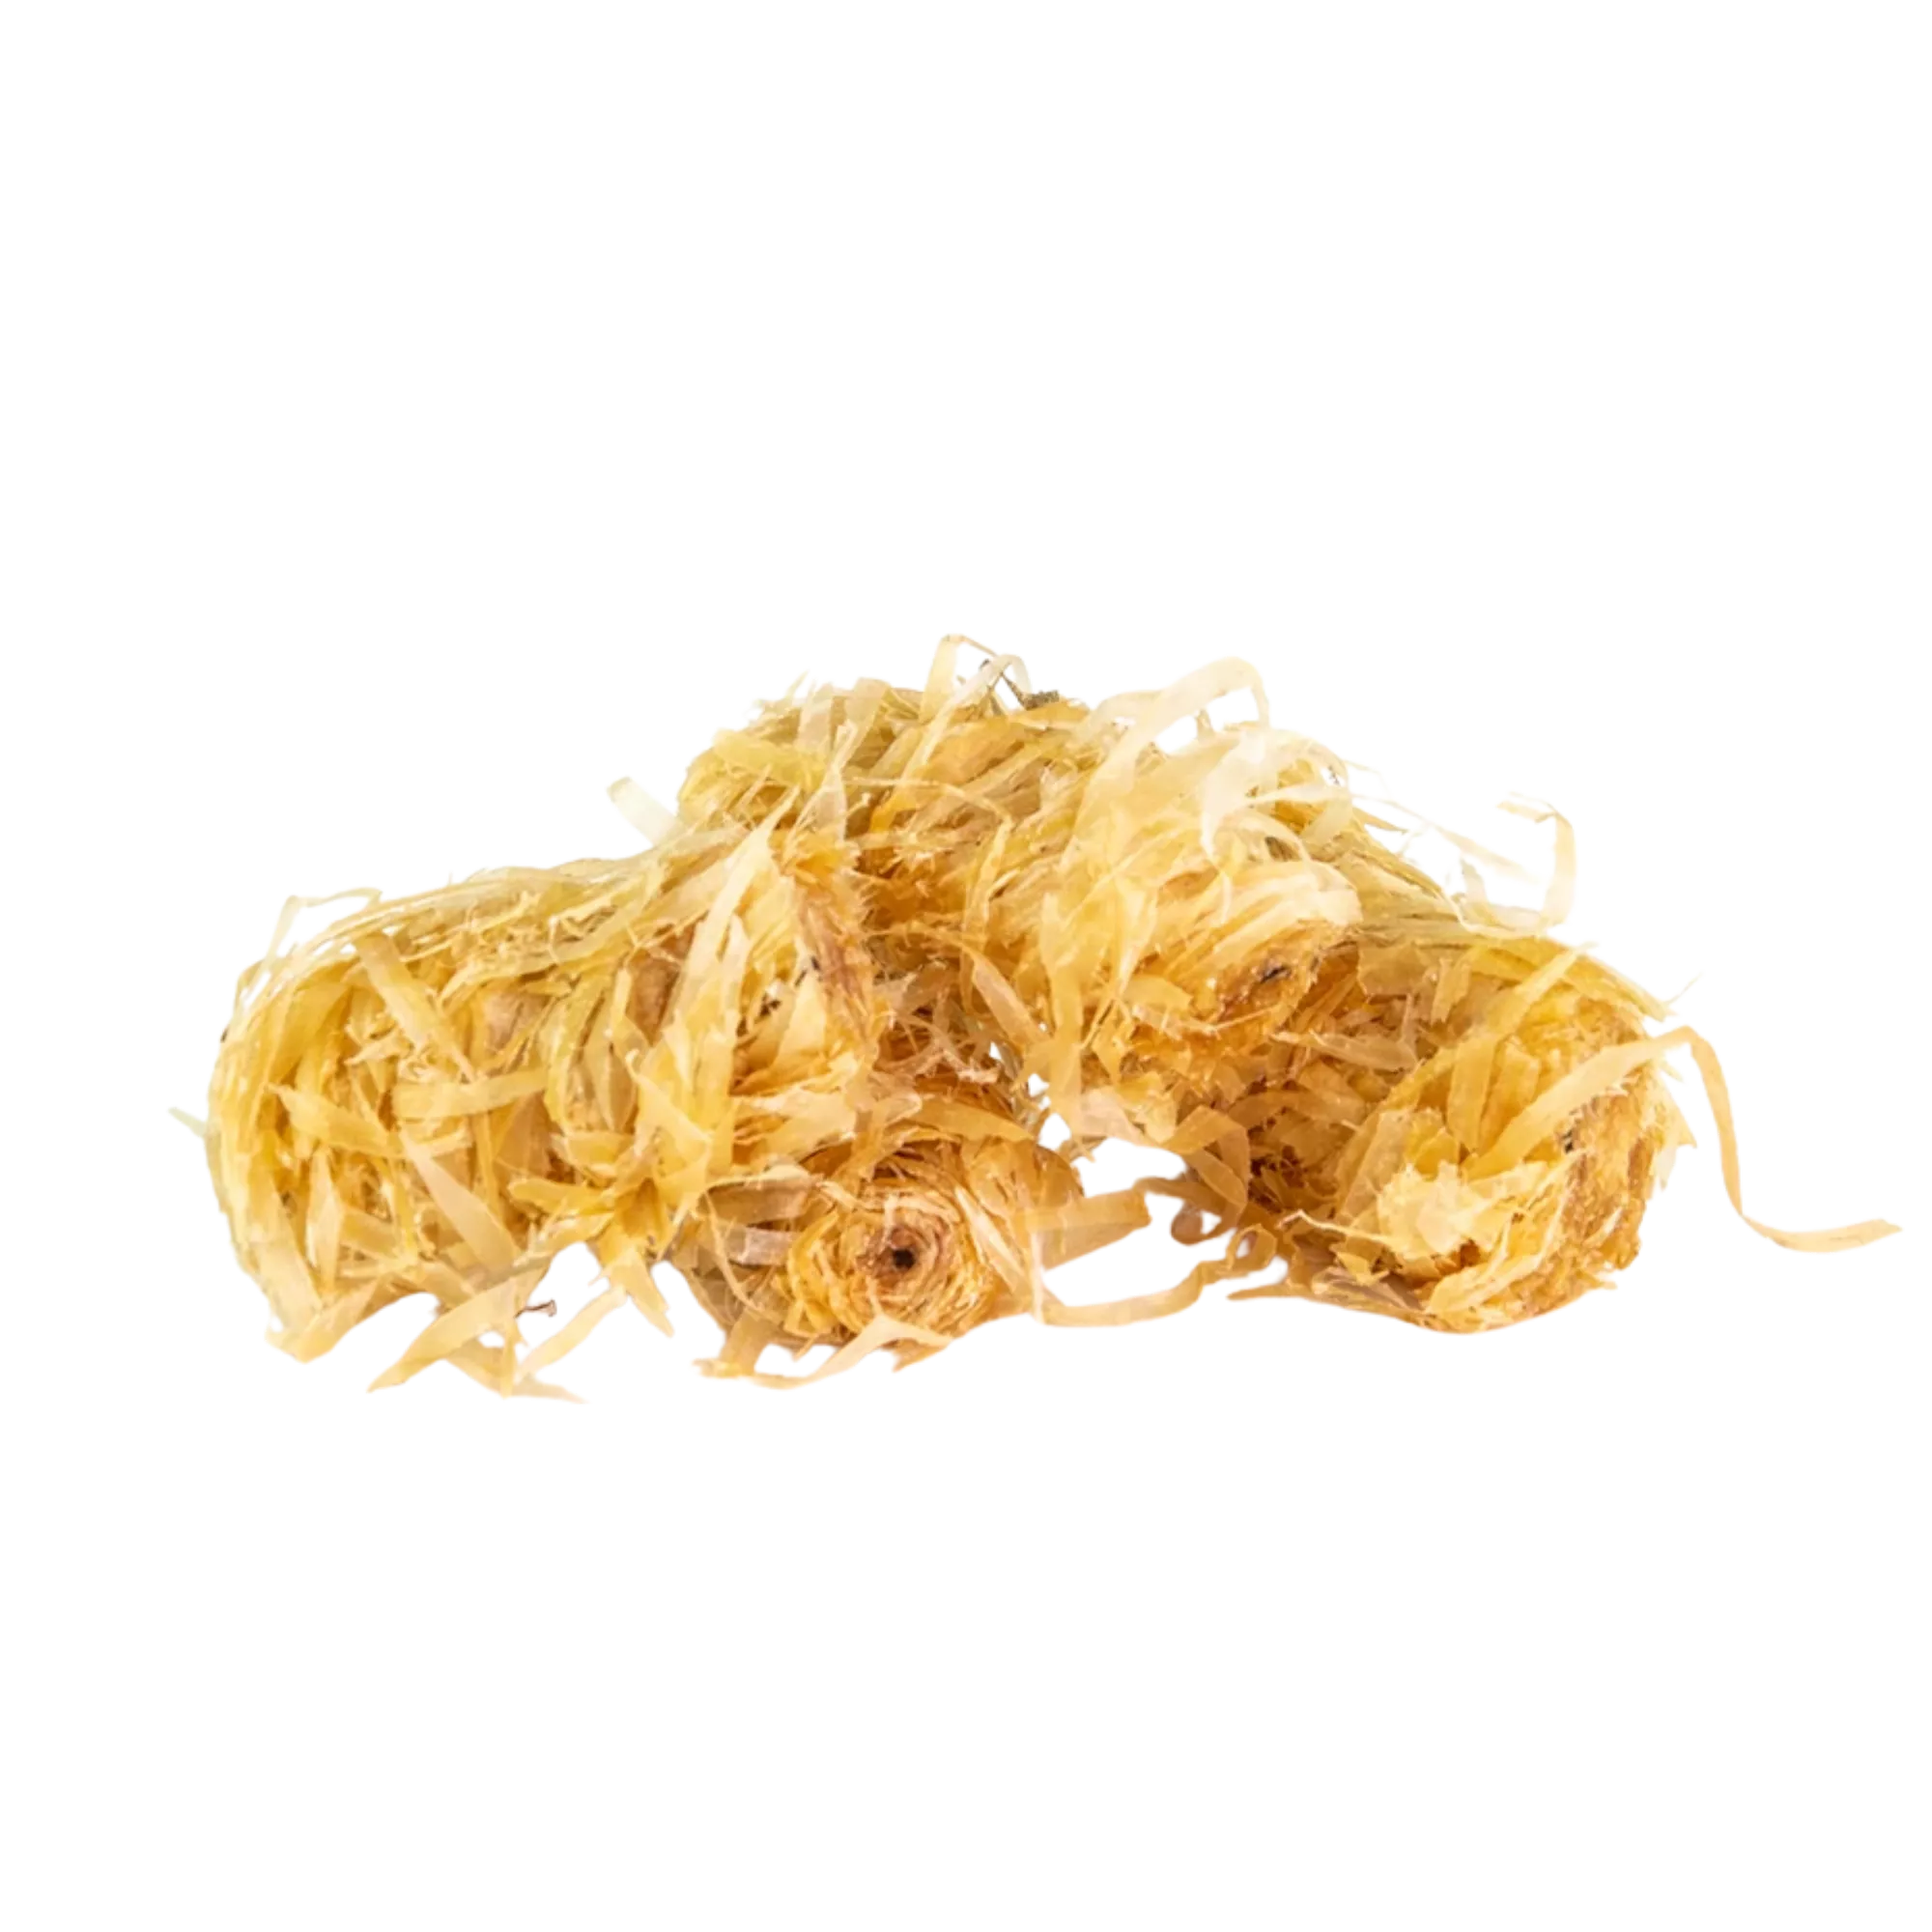
Fire starters are a nice step up for many kamado users. They are natural, work cleanly, and leave no chemical aftertaste. The fire starters from Smokin' Flavours, in particular, are pleasant to use. They simply do what they are supposed to do and ensure a calm, stable start.
The procedure is simple:
- make a small indentation in the charcoal
- place one or two fire starters in there
- use two ignition points for a larger kamado
- Light the Wokkels with a long lighter or gas torch.
- let the fire slowly burn into the charcoal
This is a method that many people find pleasant because it is clean and reliable. You don't have to think much, yet you build up temperature in a controlled manner.
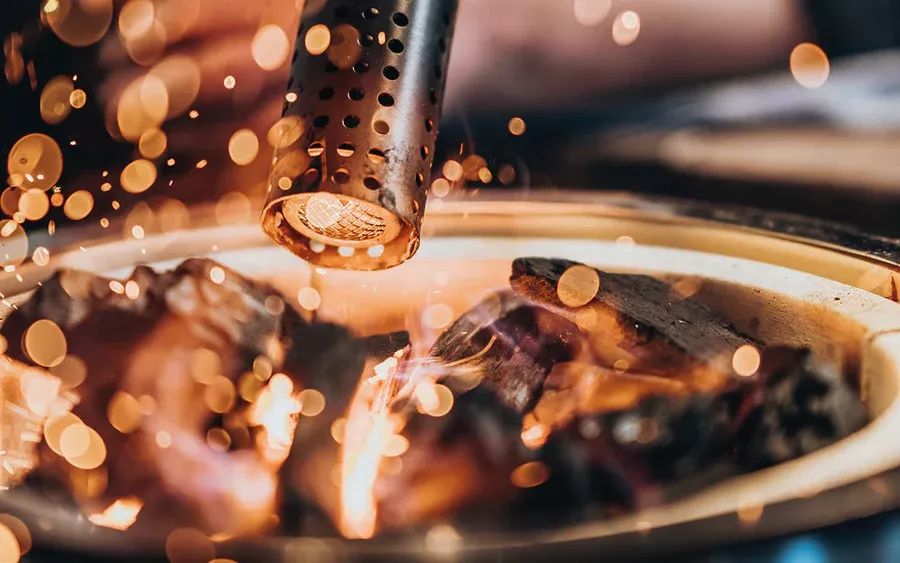
3. Lighting with a Monolighter
For many people, the fastest and cleanest way to light a kamado is with a Monolighter. No loose logs, no extra equipment, just create a targeted glowing point and let the fire build up from there.
Here's how it works:
- Open the lid and ensure sufficient air supply.
- Hold the Monolighter close to the charcoal
- wait until you see a glowing red dot
- Pull it back slightly and let the air do the rest of its work.
- a bright focal point appears within one to two minutes
For those who often work with a kamado, this is usually the most pleasant method. You work quickly, precisely, and without the mess.
The biggest mistake: wanting to go too fast
As soon as the fire is burning well, the part where many people get impatient begins. The kamado heats up, and then there is a strong temptation to turn everything up all the way to reach your target temperature as quickly as possible. That feels logical, but in practice, it often works against you.
A kamado is made of ceramic and retains heat for a long time. The air you introduce now continues to have an effect later on. As a result, the temperature can suddenly shoot up too high, requiring you to correct it. That takes time and makes your session less relaxed.
It works much better to let the temperature rise gradually. Don't just focus on speed, but especially on control. As soon as you get close to your desired temperature, start gradually reducing the air supply. This keeps the build-up much more stable.
When do you install accessories such as a heat shield?
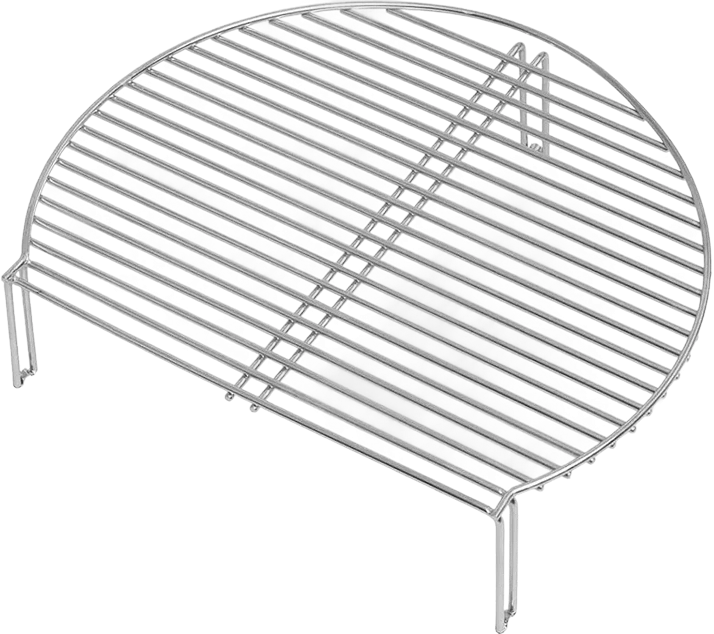
Only place a heat shield, grate, or drip pan when your kamado is almost up to temperature. If you do this too early, you unnecessarily slow down the heat build-up. If you do it at the right moment, your session remains much better balanced.
Do keep in mind that the temperature may drop slightly once you place accessories. That is normal. Allow the kamado to recover quietly afterwards, and only then begin truly fine-tuning the air control.
A good rule of thumb is:
- first let the fire get going properly
- then work towards the target temperature
- only then place accessories
- then stabilize the temperature again
Refilling charcoal during a session
It doesn't happen often, but during long low and slow sessions, it may be necessary to add more charcoal. When that moment comes, the way you do it is particularly important. Simply throwing fresh charcoal on top of glowing coals seems convenient, but it often actually smothers the fire. Your airflow becomes unbalanced, and the temperature drops faster than you would like.
The better approach is simpler:
- Gently push the glowing coals slightly backward
- add fresh charcoal to the front
- let the airflow do its work
- Gradually build up the temperature again if necessary
This way, your fire remains better balanced and you prevent large fluctuations.
Lighting it properly is mainly about working calmly.
Ultimately, lighting a kamado isn't about speed, but about a good foundation. That might be less spectacular, but it is precisely why a session runs smoothly. A clean bed of coals, enough charcoal, a logical ignition method, and a gradual build-up to temperature combine to provide more control.
After a few sessions, you'll notice that you naturally become more skilled at it. You'll get a quicker feel for how much charcoal you need, when to restrict airflow, and which lighting method suits you best. And that is precisely what makes cooking on a kamado so much fun. You develop an increasing feel for fire, temperature, and timing.
Get more out of your kamado
If you want to know not only how to light a kamado, but also how to use it better, our Kamado Basic Skills workshop is a great next step. During this workshop, you will learn how to start up a kamado, how to control the temperature, and how to work with grilling, baking, and low and slow cooking.
You get hands-on experience, receive practical instructions, and quickly realize that a kamado is not a complicated device, but rather one of the most enjoyable ways to cook outdoors. Once you have mastered the basics, everything that follows becomes much more fun.